1. Create a new STM32 project using STM32CubeMX[edit | edit source]
Refer to How to create STM32MPU projects with STM32CubeMX
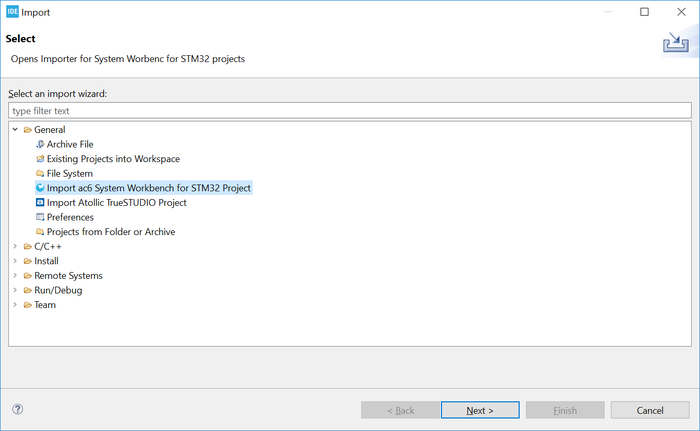
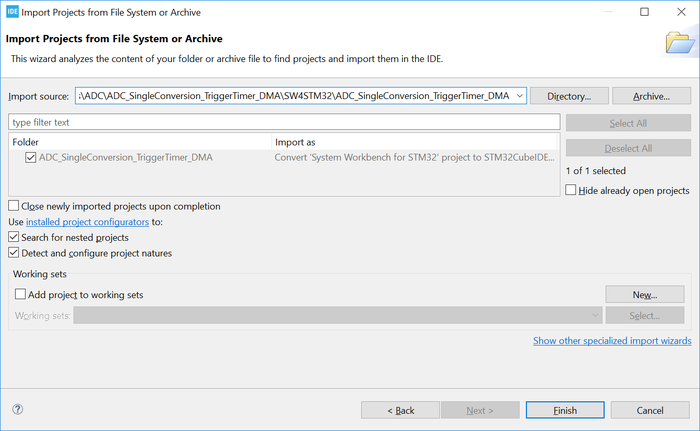
2. Create a project by importing SW4STM32 project in STM32CubeIDE[edit | edit source]
Refer to How to import SW4STM32 project in STM32CubeIDE article.
3. Import a project from the STM32CubeMPU Package[edit | edit source]
To import the STM32CubeMPU firmware project into STM32CubeIDE, go to [File]>[Import...] and select "Import Existing Projects into Workspace" as shown in the figure below and click on [Next >].
Then select the correct project. A project example is by default located at '$HOME\STM32Cube\Repository\STM32Cube_FW_MP1_VX.X.X\Projects\STM32MP257F-EV1\Examples\ADC\ADC_DifferentialMode\STM32CubeIDE
After selecting the project, click on [Finish] to import and build the project.
Arm® is a registered trademark of Arm Limited (or its subsidiaries) in the US and/or elsewhere. ![]()