This article explains how to experiment with ONNX Runtime [1] applications for image classification based on the MobileNet v1 model using ONNX Python™ runtime.
1. Description[edit source]
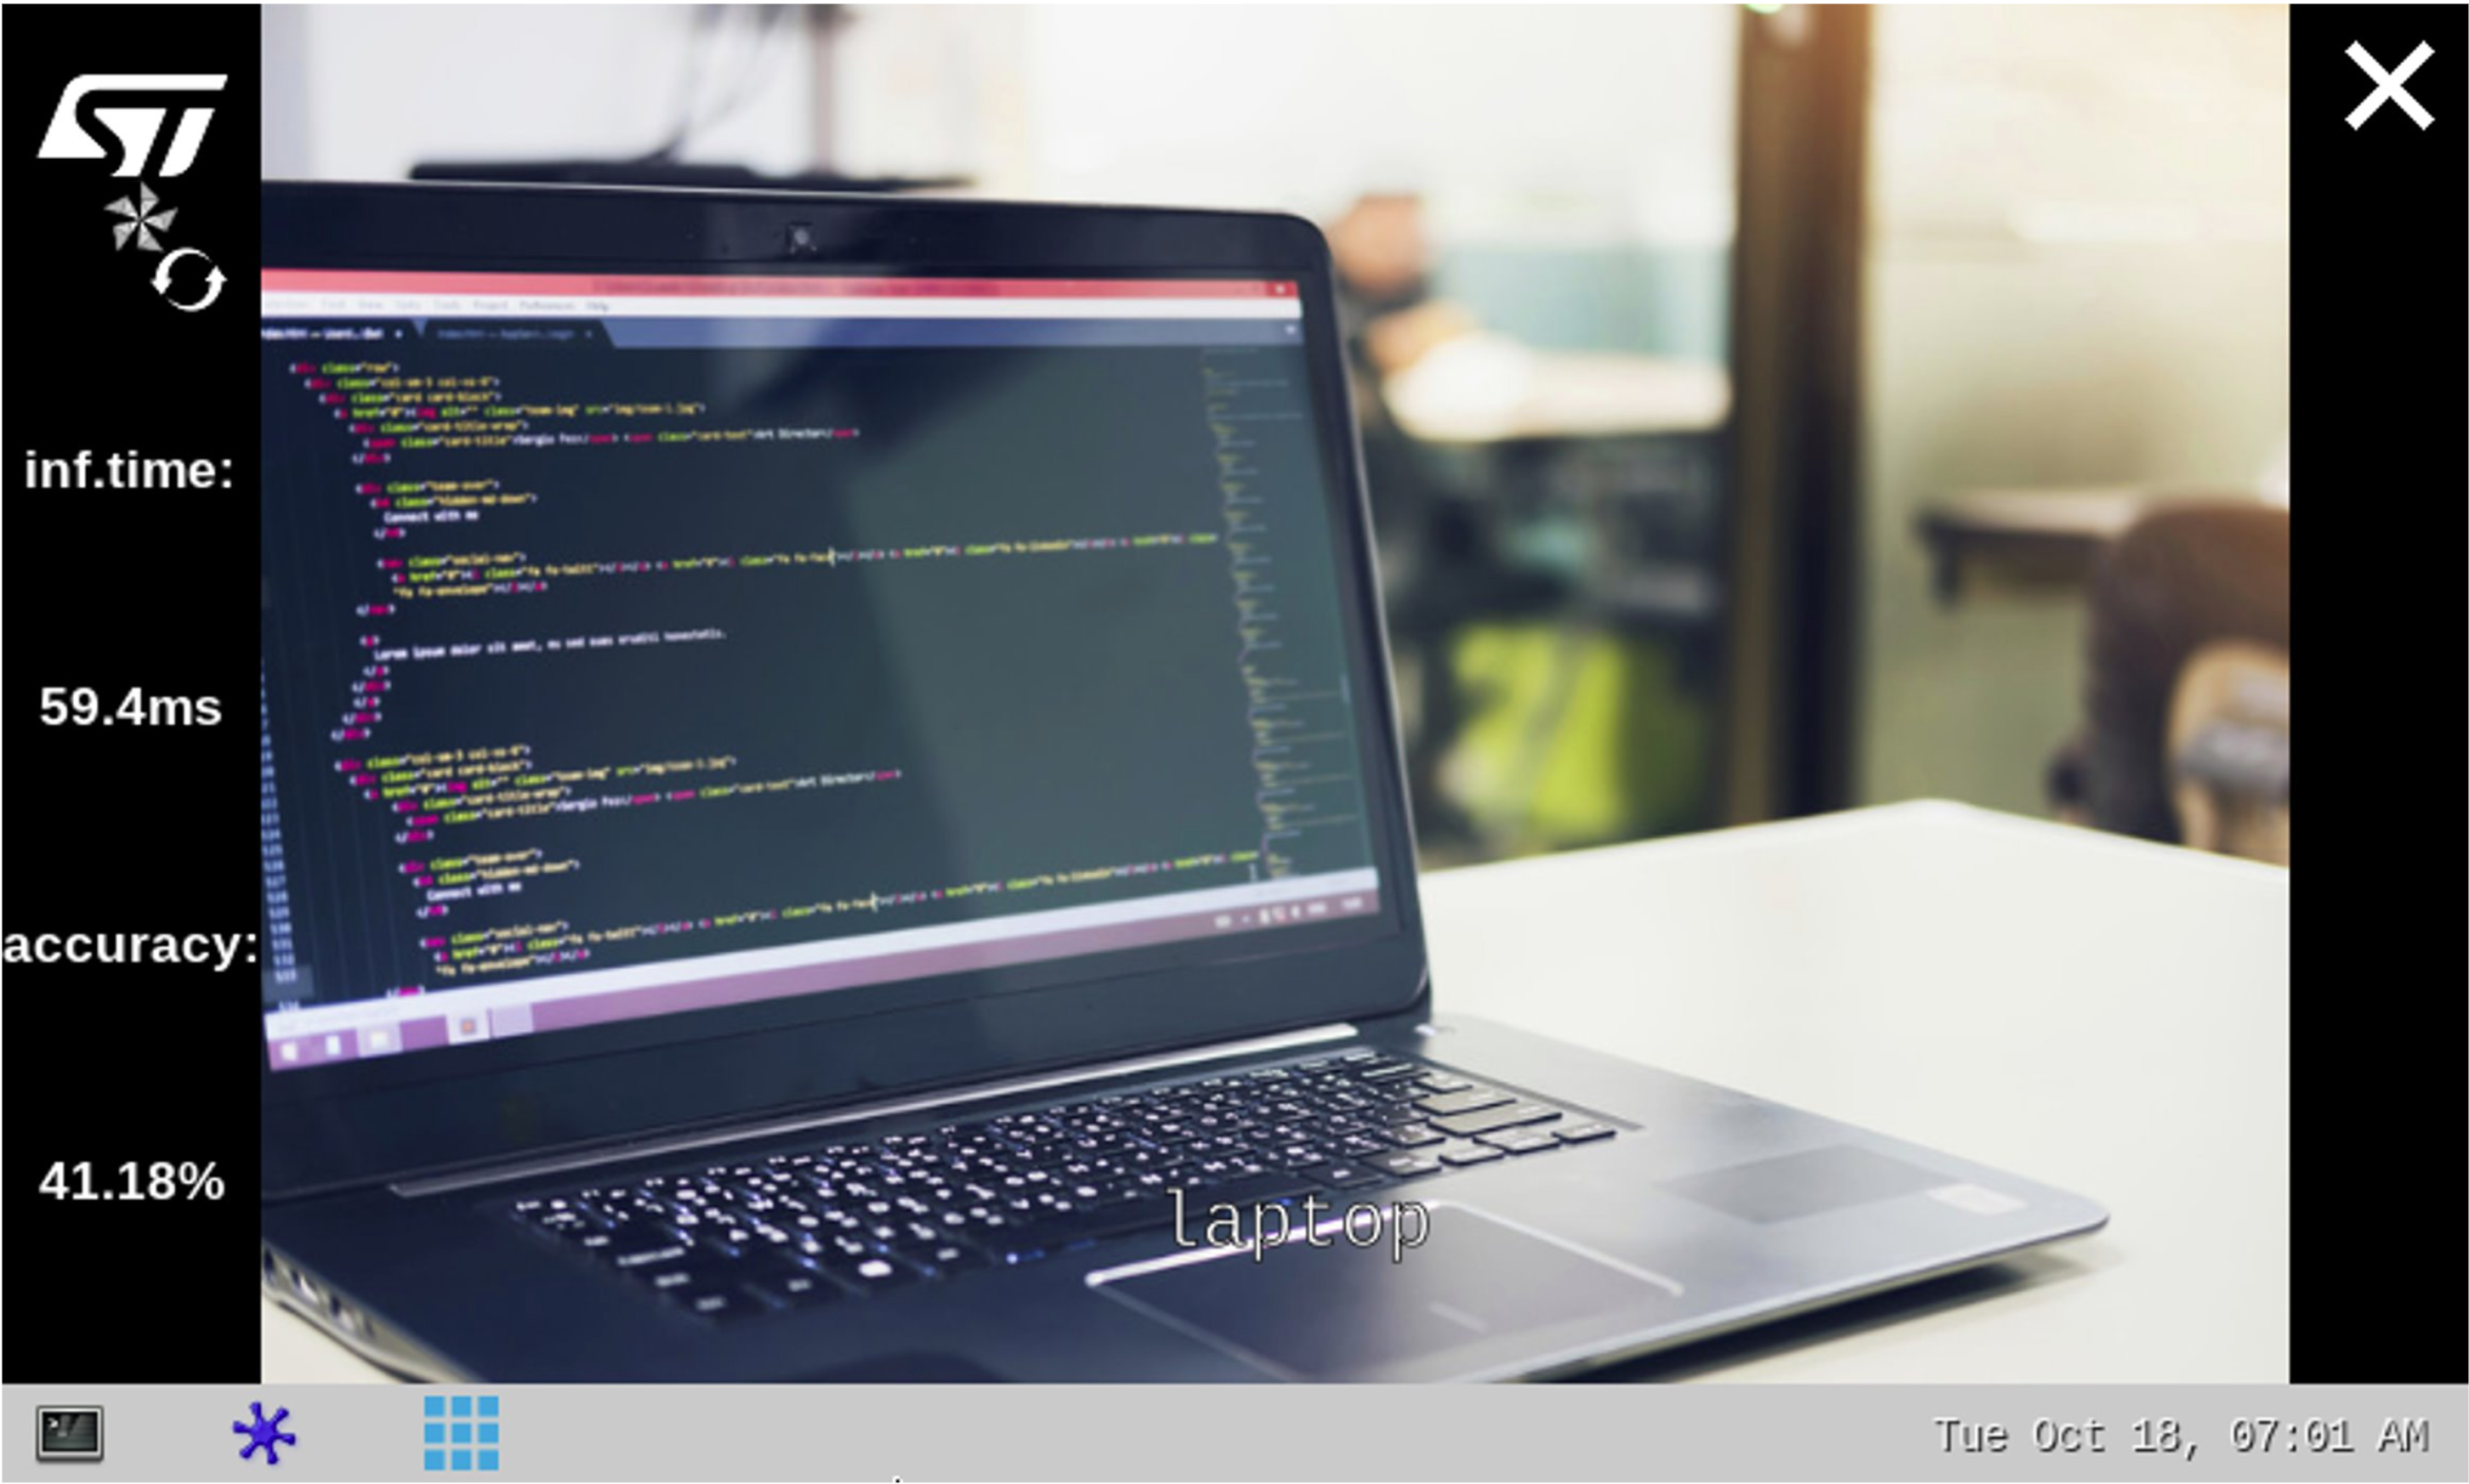
The image classification neural network model allows the identification of the subject represented by an image. It classifies an image into various classes.
The application enables three main features:
- A camera streaming preview implemented using Gstreamer
- An NN inference based on the camera inputs (or test data pictures) run by the ONNX Runtime [1] interpreter
- A user interface implemented using Python GTK
The performance depends on the number of CPUs available. The camera preview is limited to one CPU core while the ONNX runtime[1] interpreter is configured to use the maximum of the available resources.
The model used with this application is the MobileNet v1 downloaded from the Tensorflow Lite Hub[2] and converted to ONNX opset 16 format using tf2onnx.
2. Installation[edit source]
2.1. Install from the OpenSTLinux AI package repository[edit source]
After having configured the AI OpenSTLinux package, the user can install the X-LINUX-AI components for this application:
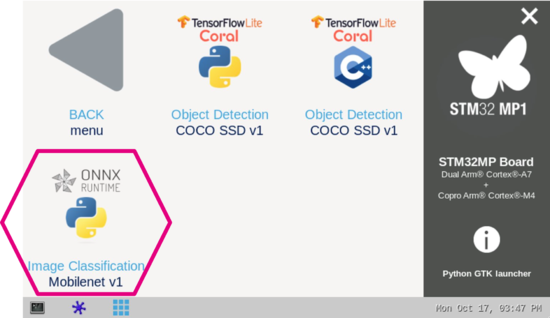
apt-get install onnx-cv-apps-image-classification-python
Then, the user can restart the demo launcher:
- For OpenSTLinux distribution with a version lower than 4.0 use:
systemctl restart weston@root
- For other OpenSTLinux distribution use:
systemctl restart weston-launch
2.2. Source code location[edit source]
The label_onnx.py Python script is available:
- in the Openembedded OpenSTLinux Distribution with the X-LINUX-AI Expansion Package:
- <Distribution Package installation directory>/layers/meta-st/meta-st-stm32mpu-ai/recipes-samples/onnxrt-cv-apps/files/image-classification/python/label_onnx.py
- on the target:
- /usr/local/demo-ai/computer-vision/onnx-image-classification/python/label_onnx.py
- on GitHub:
3. How to use the application[edit source]
3.1. Launching via the demo launcher[edit source]
3.2. Executing with the command line[edit source]
The Python script label_onnx.py application is located in the userfs partition:
/usr/local/demo-ai/computer-vision/onnx-image-classification/python/label_onnx.py
It accepts the following input parameters:
usage: label_onnx.py [-h] [-i IMAGE] [-v VIDEO_DEVICE] [--frame_width FRAME_WIDTH] [--frame_height FRAME_HEIGHT] [--framerate FRAMERATE]
                     [-m MODEL_FILE] [-l LABEL_FILE] [--input_mean INPUT_MEAN] [--input_std INPUT_STD] [--validation]
                     [--num_threads NUM_THREADS]

options:
  -h, --help            show this help message and exit
  -i IMAGE, --image IMAGE
                        image directory with image to be classified
  -v VIDEO_DEVICE, --video_device VIDEO_DEVICE
                        video device (default /dev/video0)
  --frame_width FRAME_WIDTH
                        width of the camera frame (default is 640)
  --frame_height FRAME_HEIGHT
                        height of the camera frame (default is 480)
  --framerate FRAMERATE
                        framerate of the camera (default is 15fps)
  -m MODEL_FILE, --model_file MODEL_FILE
                        .onnx model to be executed
  -l LABEL_FILE, --label_file LABEL_FILE
                        name of file containing labels
  --input_mean INPUT_MEAN
                        input mean
  --input_std INPUT_STD
                        input standard deviation
  --validation          enable the validation mode
  --num_threads NUM_THREADS
                        Select the number of threads used by ONNX interpreter to run inference
3.3. Testing with MobileNet V1[edit source]
The model used for test is the mobilenet_v1_0.5_128_quant.onnx downloaded from Tensorflow Lite Hub[2] and converted to ONNX format.
To launch the Python script more easily, two shell scripts are available:
- launch image classification based on camera frame inputs
/usr/local/demo-ai/computer-vision/onnx-image-classification/python/launch_python_label_onnx_mobilenet.sh
- launch image classification based on the pictures located in /usr/local/demo-ai/computer-vision/models/mobilenet/testdata directory:
/usr/local/demo-ai/computer-vision/onnx-image-classification/python/launch_python_label_onnx_mobilenet_testdata.sh
4. References[edit source]

