Template:ArticleMainWriter Template:ArticleProposedVersion

| ||||||||
| Let's start | Develop on Arm® Cortex®-A7 | |||||||
| Unpack the board | Populate the target and boot the image | Execute basic commands | Use the demo launcher | |||||
1. Overview[edit source]
This first stage will explain you the way to unpack the STM32MP157x-EV1 Evaluation board and the additional equipment you need.
The following block diagram provide you high level information about how to connect them together.
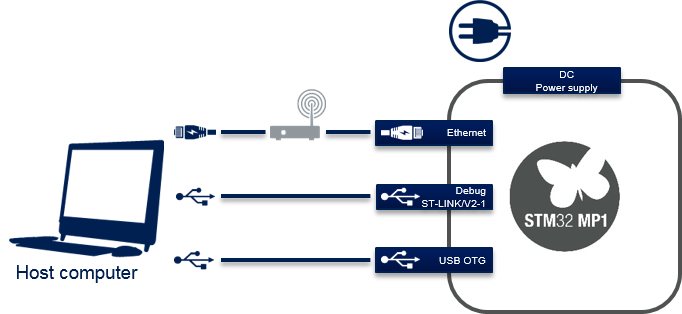
STM32MP1 connection block diagram
2. Out of the box[edit source]
3. Equipment[edit source]
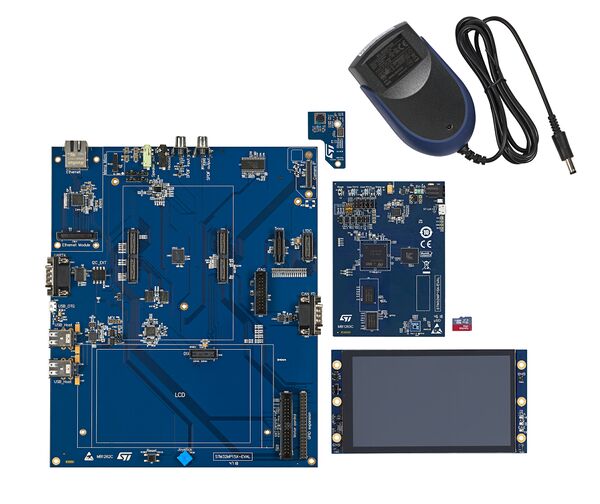
The following table lists the required equipment to start playing with your STM32MP157x-EV1 board.
Some of them are delivered with the STM32MP157x-EV1 Evaluation board. The other need to be purchase separatly.
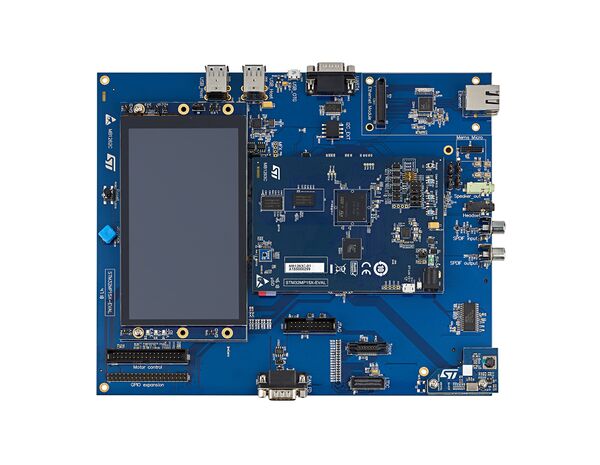
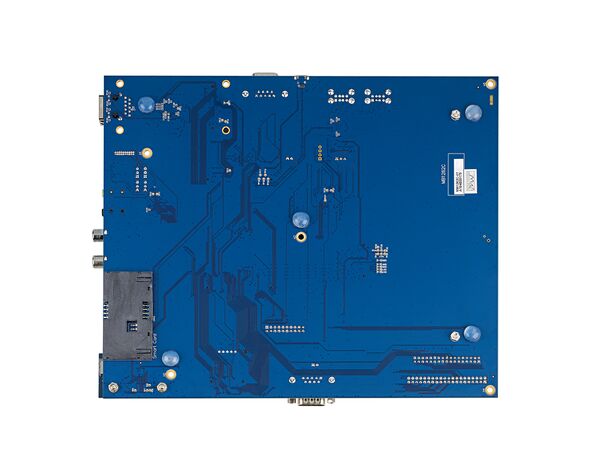
| STM32MP157x-EV1 Evaluation board | Full feature board for the STM32MP15 microprocessor device | Delivered |
| MicroSD card | To be populated with the OpenSTLinux Distribution (Linux software), and providing extra storage capacity. A 2-Gbyte minimum microSD card is needed |
Delivered |
| Power Supply 5V/3A | The power supply should be able to output 5V / 3A (15W) | Delivered |
| Micro USB Type-B to USB Type-A cable | Used to connect the STM32MP157x-EV1 Evaluation board to the PC through the USB micro-B (ST-LINK/V2-1) |
Not delivered |
| Micro USB Type-B to USB Type-A cable | Used to connect the STM32MP157x-EV1 Evalutation board to an USB OTG device. | Not delivered |
| Laptop | Assume a Linux PC running Ubuntu 16.04 | Not delivered |
| Ethernet cable (optional) | Used to connect the STM32MP157x-EV1 Evaluation board through ssh | Not delivered |
4. Connection[edit source]
- Connect the micro USB Type-B to USB Type-A cable between your laptop and the ST-LINK/V2-1 port of the board
- Connect the power supply
- Connect the micro USB Type-B to USB Type-A between your laptop and the USB Type-C™ OTG port of the board
- Optionally connect the Ethernet cable between your Ethernet network and the Ethernet port of the board
File:STM32MP157x-EV1 with power stlink flasher ethernet.png
STM32MP157x-EV1 Evaluation board connection
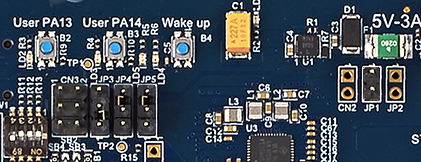
- Remove jumper JP1 and place jumper JP4 and JP5 as follow to allow debug through ST-LINK/V2-1