| This page is a candidate for renaming (move). The requested new name is: User space project in STM32CubeIDE. The supplied reason is: visibility. -- Registered User (-) 14:52, 22 March 2021 (CET). Wiki maintainers: remember to update the pages that link this page before renaming (moving) it. |
1. Create a user space executable project[edit source]
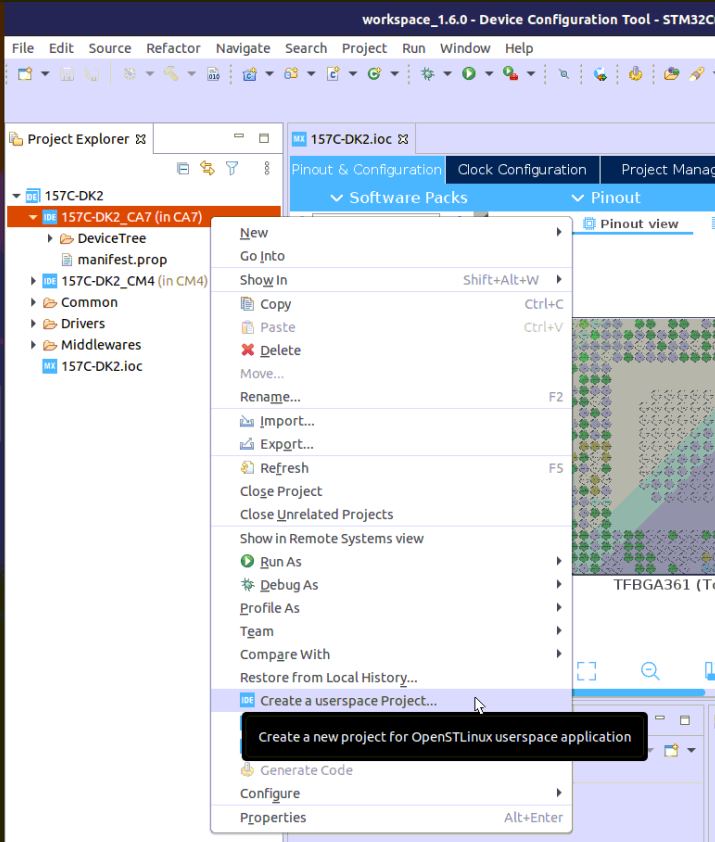
In context of Cortex-A7 sub-project, MP157C-DK2_CA7 here, right click and select Create a userspace Project..
400px|thumb|
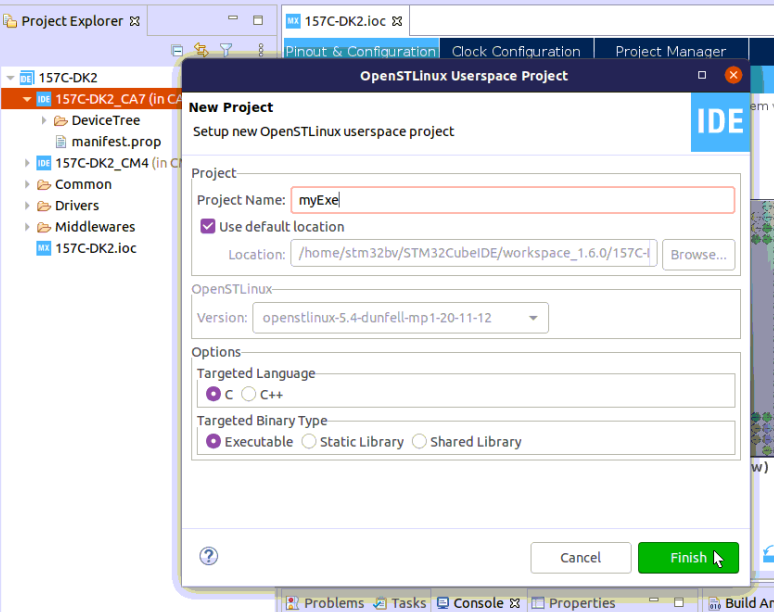
We select here Executable project type, in C language. Note that our user space project will use by default the SDK version associated to Cortex-A7 sub-project.
400px|thumb|
2. Build[edit source]
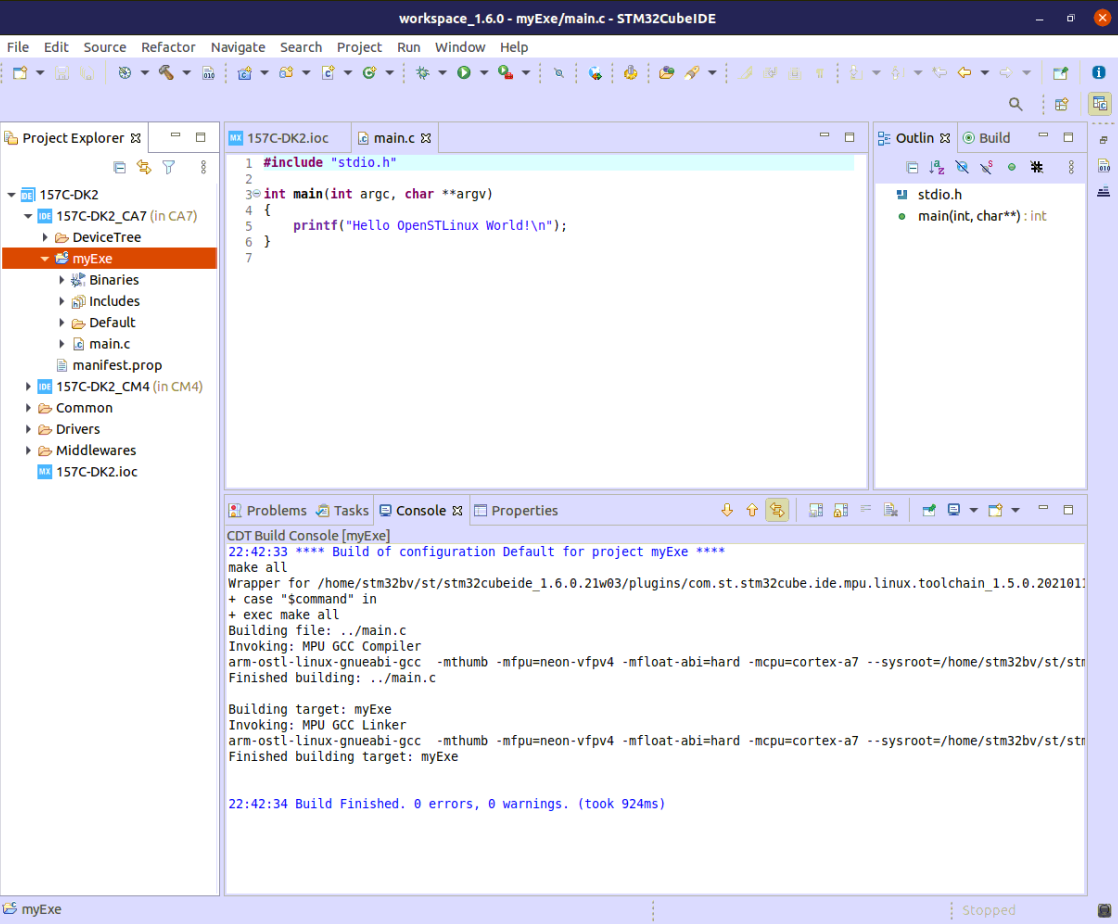
- Select your project, right-click and then Build Project.
500px|thumb|
3. Preparing Debug Configuration[edit source]
Your target must be Linux booted and network connected. Please, start Target Status widget on the bottom right and check for the green light. 200px|thumb|
Please also check How to set up proxy and P2P Ethernet connection with STM32CubeIDE if you are in that case.
4. Debug Configuration[edit source]
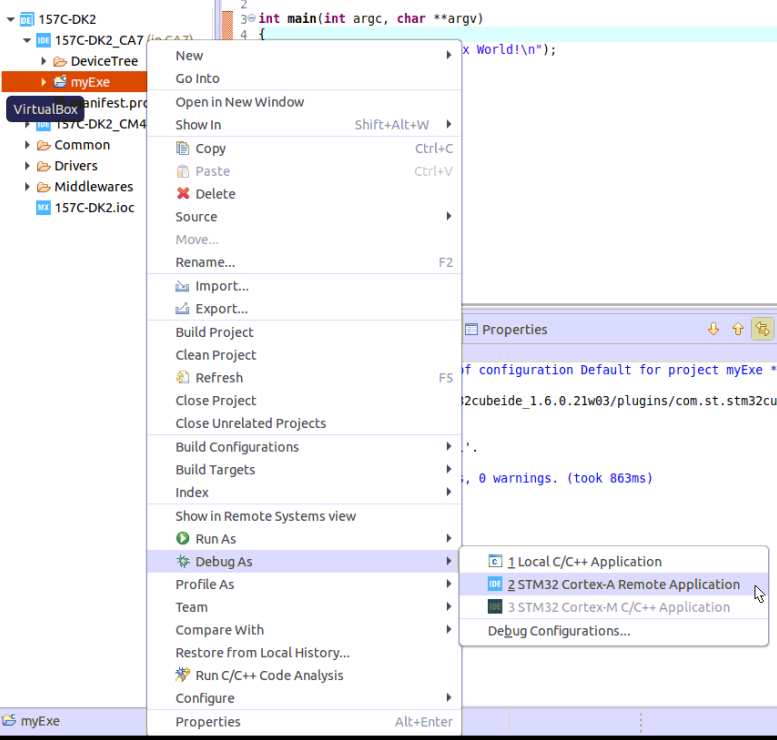
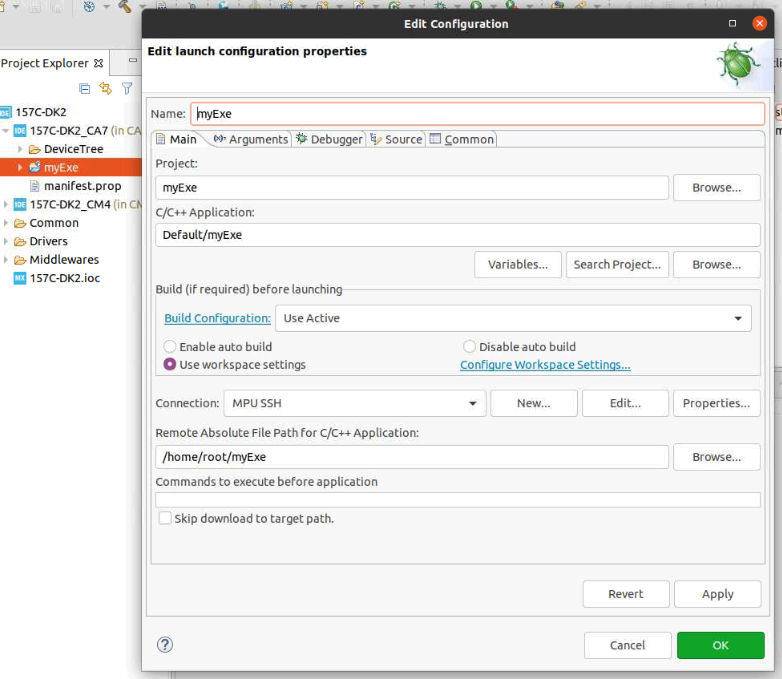
Select your project, right-click Debug as... > Debug Configurations, then select STM32 Cortex-A Remote Application'.
400px|thumb|
The default Connection proposed is "MPU SSH", corresponding to the target IP address discovered by Target Status. The default destination directory is /home/root.
400px|frame|
5. Debug[edit source]
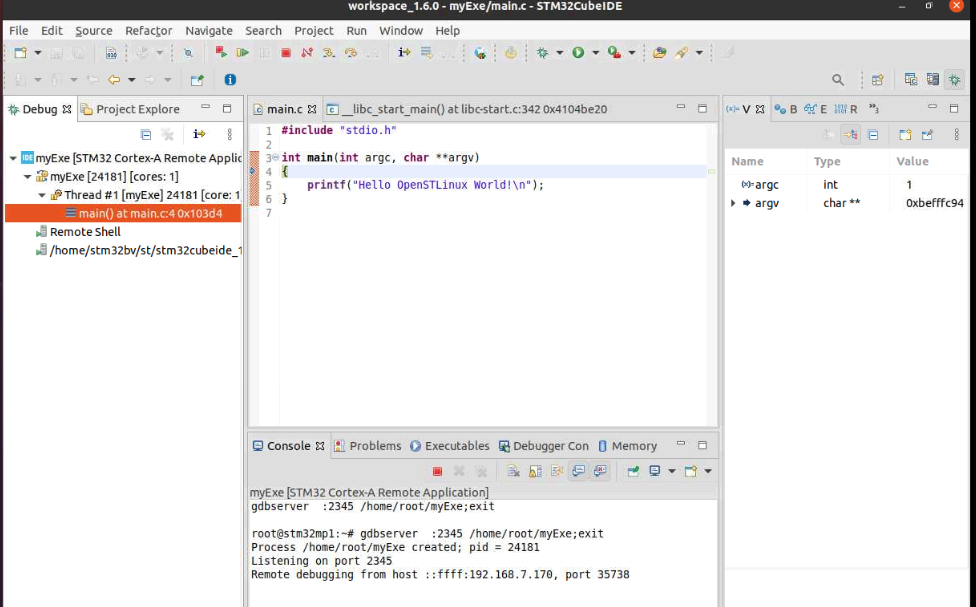
Click Debug :
- Executable is downloaded to the target,
- GDBServer is launched on the target,
- GDBClient is launched on the workstation and can exchange via network with GDBServer,
frame|
