
1. Overview[edit source]
This stage explains how to get, install and boot the STM32MP15 Evaluation boards with the Starter Package.
2. Open a terminal[edit source]
Open a terminal on the host computer.

All the commands preceded by have to be executed from the host computer terminal.
- Create your STM32MPU workspace directory on the host computer:
 mkdir $HOME/STM32MPU_workspace
 cd $HOME/STM32MPU_workspace
3. Check the host computer Internet access[edit source]
- An Internet access through http and https protocols must be provided.
The command below enables checking for Internet access through http/https protocols:
wget -q www.google.com && echo "Internet access over HTTP/HTTPS is OK !" || echo "No internet access over HTTP/HTTPS ! You may need to set up a proxy."
If an 'OK' message is returned, the network is correctly configured.
In this case, skip the rest of this section.
Otherwise, a proxy for http/https protocols is required.
The best solution is to set this proxy through the shell variables http_proxy and https_proxy:
 export http_proxy=http://<MyProxyLogin>:<MyProxyPassword>@<MyProxyServerUrl>:<MyProxyPort>
 export https_proxy=http://<MyProxyLogin>:<MyProxyPassword>@<MyProxyServerUrl>:<MyProxyPort>
Check again the Internet access using the command:
wget -q www.google.com && echo "Internet access over HTTP/HTTPS is OK !" || echo "No internet access over HTTP/HTTPS ! You may need to set up a proxy."
4. Install the tools[edit source]
4.1. STM32CubeProgrammer[edit source]
- Create your STM32MPU tools directory on the host computer:
 mkdir $HOME/STM32MPU_workspace/STM32MPU-Tools
 mkdir $HOME/STM32MPU_workspace/STM32MPU-Tools/STM32CubeProgrammer-x.y.z
- Create a temporary directory in your STM32MPU workspace:
mkdir $HOME/STM32MPU_workspace/tmp
- Download STM32CubeProgrammer in the following directory : $HOME/STM32MPU_workspace/tmp
STM32CubeProgrammer v2.12.0 is recommended for ecosystem release v4.1.0 .
.
- Uncompress the archive file to get the STM32CubeProgrammer installers:
 cd $HOME/STM32MPU_workspace/tmp
 unzip SetupSTM32CubeProgrammer.zip
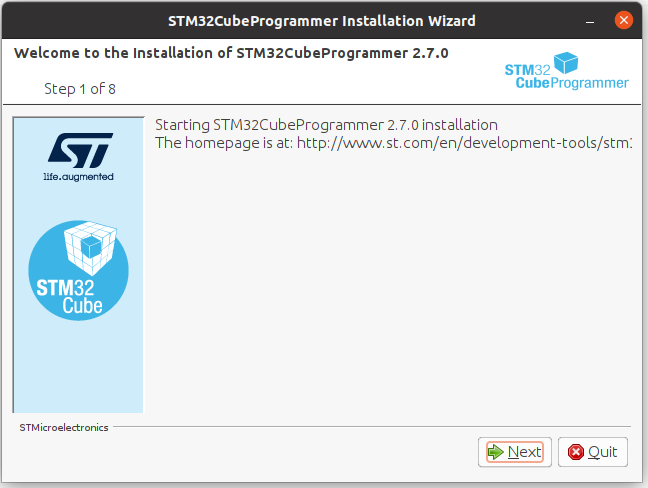
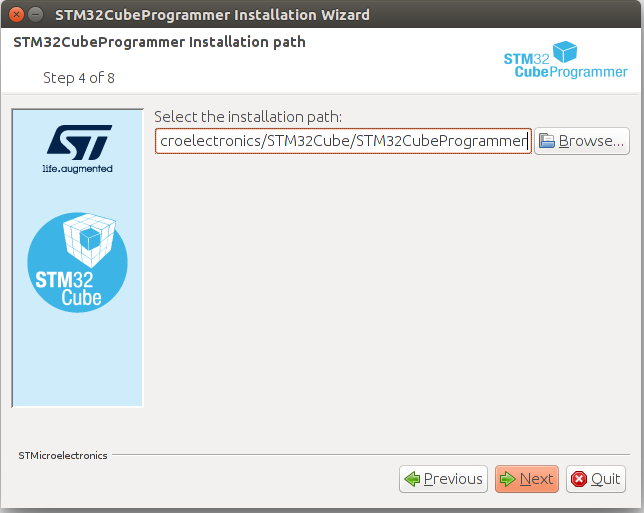
- Execute the Linux® installer, which guides you through the installation process. Select "$HOME/STM32MPU-Tools/STM32CubeProgrammer-x.y.z" as installation directory when it is requested by the installer.
./SetupSTM32CubeProgrammer-x.y.z.linux
The screenshots below have been obtained with old STM32CubeProgrammer V2.7.0. They are provided as examples and are still valid for higher versions :
- Add the STM32CubeProgrammer binary path to your PATH environment variable:
export PATH=$HOME/STM32MPU_workspace/STM32MPU-Tools/STM32CubeProgrammer-x.y.z/bin:$PATH
- Check that the STM32CubeProgrammer tool is properly installed and accessible:
 STM32_Programmer_CLI --h
     -------------------------------------------------------------------
                       STM32CubeProgrammer vx.y.z
     -------------------------------------------------------------------
4.2. USB serial link[edit source]
- Install the libusb on your host computer:
sudo apt-get install libusb-1.0-0
- To allow STM32CubeProgrammer to access the USB port through low-level commands, proceed as follows:
 cd $HOME/STM32MPU_workspace/STM32MPU-Tools/STM32CubeProgrammer-x.y.z/Drivers/rules
 sudo cp *.* /etc/udev/rules.d/
5. Download the image[edit source]
- Create your STM32MP1 Starter Package directory on the host computer:
 mkdir $HOME/STM32MPU_workspace/STM32MP1-Ecosystem-v4.1.0
 mkdir $HOME/STM32MPU_workspace/STM32MP1-Ecosystem-v4.1.0/Starter-Package
 cd $HOME/STM32MPU_workspace/STM32MP1-Ecosystem-v4.1.0/Starter-Package
- Download the STM32MP1-Ecosystem-v4.1.0 Starter Package into the following directory:
$HOME/STM32MPU_workspace/STM32MP1-Ecosystem-v4.1.0/Starter-Package - Uncompress the tarball file to get the binaries for the different partitions of the image, and the Flash layout files
tar xvf en.FLASH-stm32mp1-openstlinux-5.15-yocto-kirkstone-mp1-v22.11.23.tar.gz
6. Populate the SDCard[edit source]
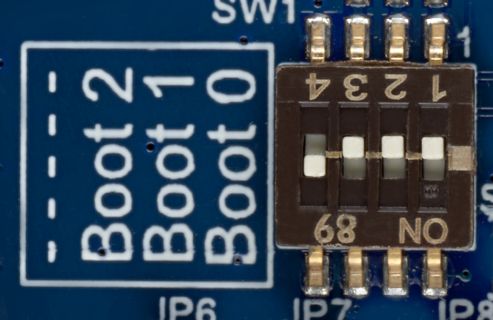
- Set the boot switches (located at the back of the board) to the off position :
- Connect USB Type A to Type C cable between PC and CN7/USB_OTG port of the STM32MP157x-EV1 board
- Power up the board
- Press the reset button to reset the board
- Launch STM32CubeProgrammer to get the GUI :
- On the right, select USB (not STLINK, set by default) in the connexion picklist and click on refresh button. Serial Number is displayed if USB is detected.
- Click on "Connect"
- Select "Open File" tab and select "$HOME/STM32MPU_workspace/STM32MP15-Ecosystem-v1.x.0/stm32mp1-openstlinux-xx-yy-zz/images/stm32mp1/flashlayout_st-image-weston the FlashLayout_sdcard_stm32mp157c-ev1-trusted.tsv", in the Starter Package installation folder.
- Fill the "Binaries Path" by browsing up to folder $[Starter_Pack_Path]/images/stm32mp1
- Click on "Download" to start the flashing process.
- Progress is displayed with progress bar till completion pop-up message.
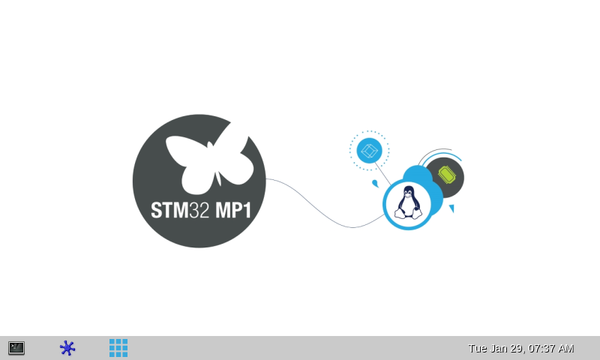
7. Boot the board[edit source]
- Set the boot switches (located at the back of the board) to the ON position

- Power up the board
- Press the "Reset" button to reset the board
- After few seconds, the board starts and automatically goes through the following screens


