Template:ArticleMainWriter Template:ArticleProposedVersion
| Let's start | Develop on Arm® Cortex®-A7 | |||||||
| Unpack the board | Populate the target and boot the image | Execute basic commands | Use the demo launcher | |||||
1. Overview[edit source]
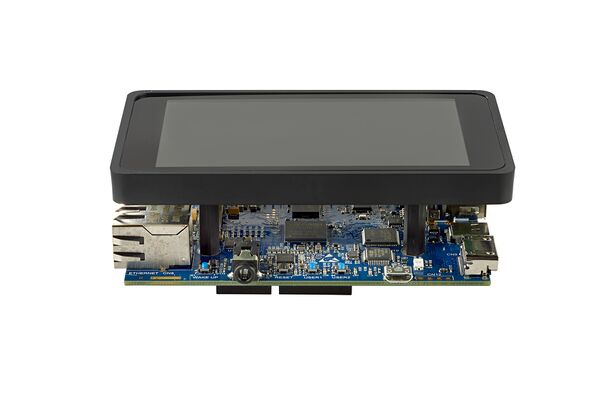
This first stage will explain you the way to unpack the STM32MP157C-DK2 Discovery kit and the additional equipment you need.
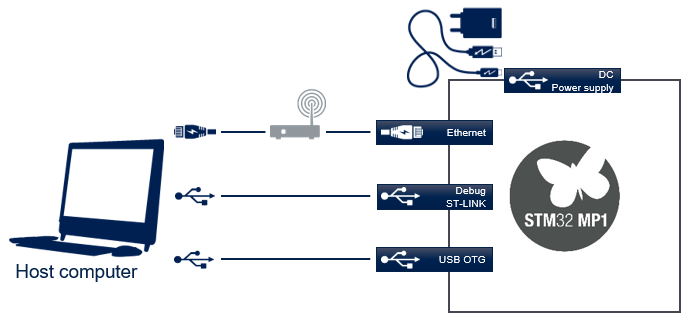
The following block diagram provide you high level information about how to connect them together.
2. Out of the box[edit source]
3. Equipment[edit source]
The following table lists the required equipment to start playing with your STM32MP157C-DK2 board.
Some of them are delivered with the STM32MP157C-DK2 Discovery kit. The other need to be purchase separatly.
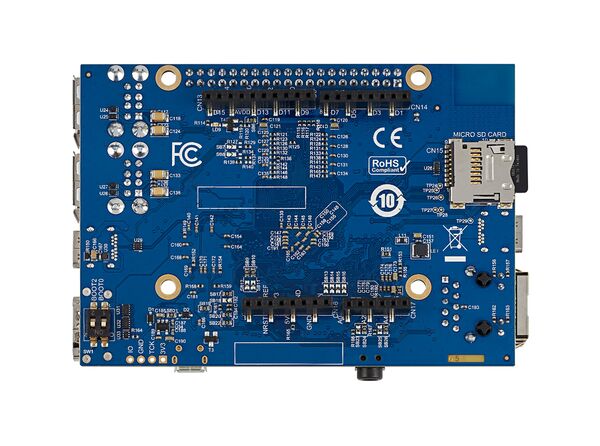
| STM32MP157C-DK2 Discovery kit | Flexible development platform for the STM32MP15 microprocessor device | Delivered |
| MicroSD card | To be populated with the OpenSTLinux Distribution (Linux software), and providing extra storage capacity. A 2-Gbyte minimum microSD card is needed |
Delivered |
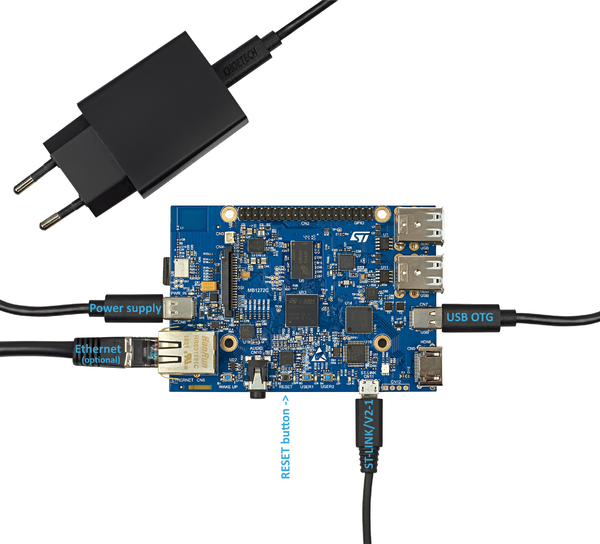
| USB Type-C™ to USB Type-C™ cable | Used to connect the STM32MP157C-DK2 board to the power supply | Delivered |
| Micro USB Type-B to USB Type-A cable | Used to connect the STM32MP157C-DK2 Discovery kit to the PC through the USB micro-B (ST-LINK/V2-1) |
Not delivered |
| USB Type-C™ to USB Type-A cable | Used to connect the STM32MP157C-DK2 board to an USB OTG device. | Not delivered |
| Power Supply 5V/3A | The power supply should be able to output 5V / 3A (15W) | Not delivered |
| Laptop | Assume a Linux PC running Ubuntu 16.04 | Not delivered |
| Ethernet cable (optional) | Used to connect the STM32MP157C-DK2 Discovery kit through ssh | Not delivered |
4. Connection[edit source]
- Connect the micro USB Type-B to USB Type-A cable between your laptop and the ST-LINK/V2-1 port of the board
- Connect the USB Type-C™ to USB Type-C™ cable to the 5V/3A power supply
- Connect the USB Type-C™ to USB Type-A cable betweenn your laptop and the USB Type-C™ OTG port of the board
- Optionally connect the Ethernet cable between your Ethernet network and the Ethernet port of the board
5. Check the host computer Internet access[edit source]
- An Internet access through http and https protocols must be provided.
The command below allows to check for Internet access through http/https protocols:
wget -q www.google.com && echo "Internet access over HTTP/HTTPS is OK !" || echo "No internet access over HTTP/HTTPS ! You may need to set up a proxy."
If a 'OK' message is returned, the network is well configured.
In such case, skip the rest of this section.
Any other situation likely indicates the need for a proxy for http/https protocols.
The best solution to set a proxy for http/https protocols is via the shell variables http_proxy and https_proxy:
 export http_proxy=http://<MyProxyLogin>:<MyProxyPassword>@<MyProxyServerUrl>:<MyProxyPort>
 export https_proxy=http://<MyProxyLogin>:<MyProxyPassword>@<MyProxyServerUrl>:<MyProxyPort>
Check again the Internet access with command:
wget -q www.google.com && echo "Internet access over HTTP/HTTPS is OK !" || echo "No internet access over HTTP/HTTPS ! You may need to set up a proxy."